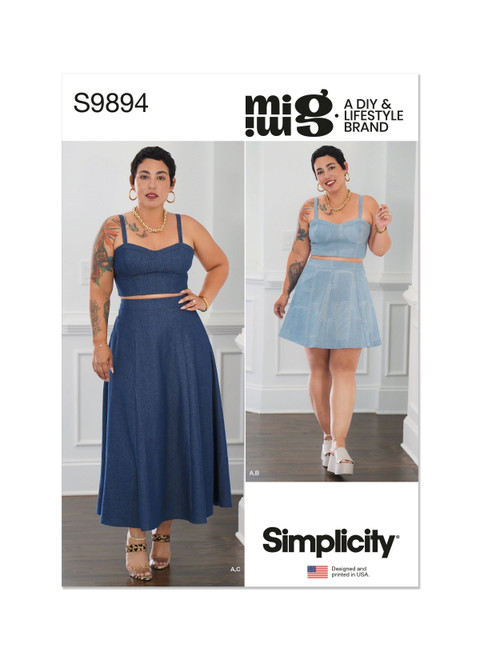
I can not believe it is already February. January came and went so fast. Did you get any sewing done? Did you make a list of the things you want to achieve? I did both. I spent a lot of hours in my sewing space and a lot of time reading up on new techniques I want to learn and I made my #makenine9 list. I actually completed the first pattern. The 2 pieces will need to be worn as separates as I didn’t have enough fabric of either choice to make a full outfit. I was serious about the pattern and fabric fast for January. I didn’t even step foot in a craft store. Yay ME!!!
So let’s see what I made in January and what I am working on now:
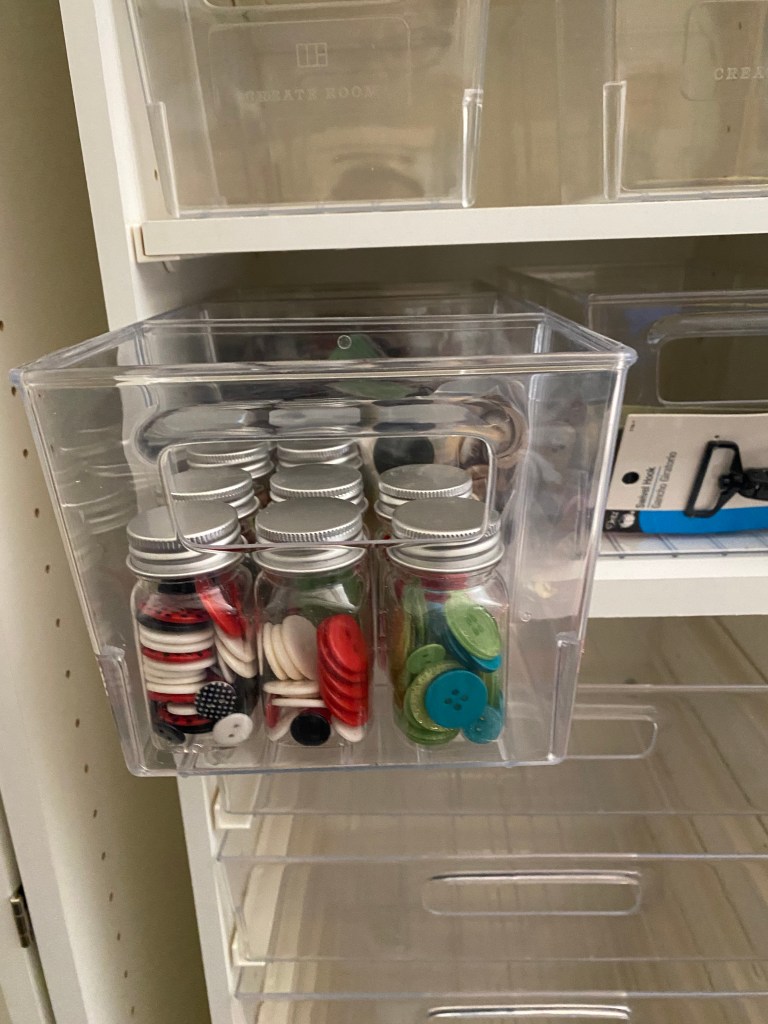
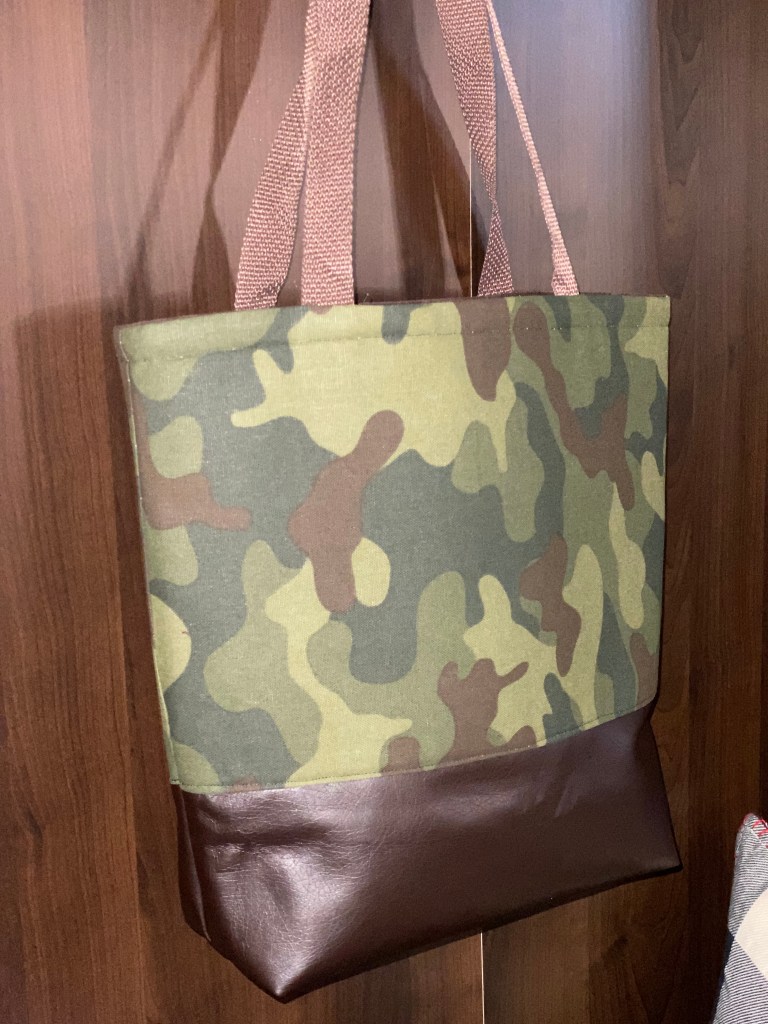
- First make of 2024 was the Tuesday Tote from the Knotted Threads Co. It was super easy to make and I love how it turned out. It is a beginner friendly pattern. For the outside I used some left over Camouflage Canvas and some Faux leather that I purchased to redo some chairs I had and never finished them.


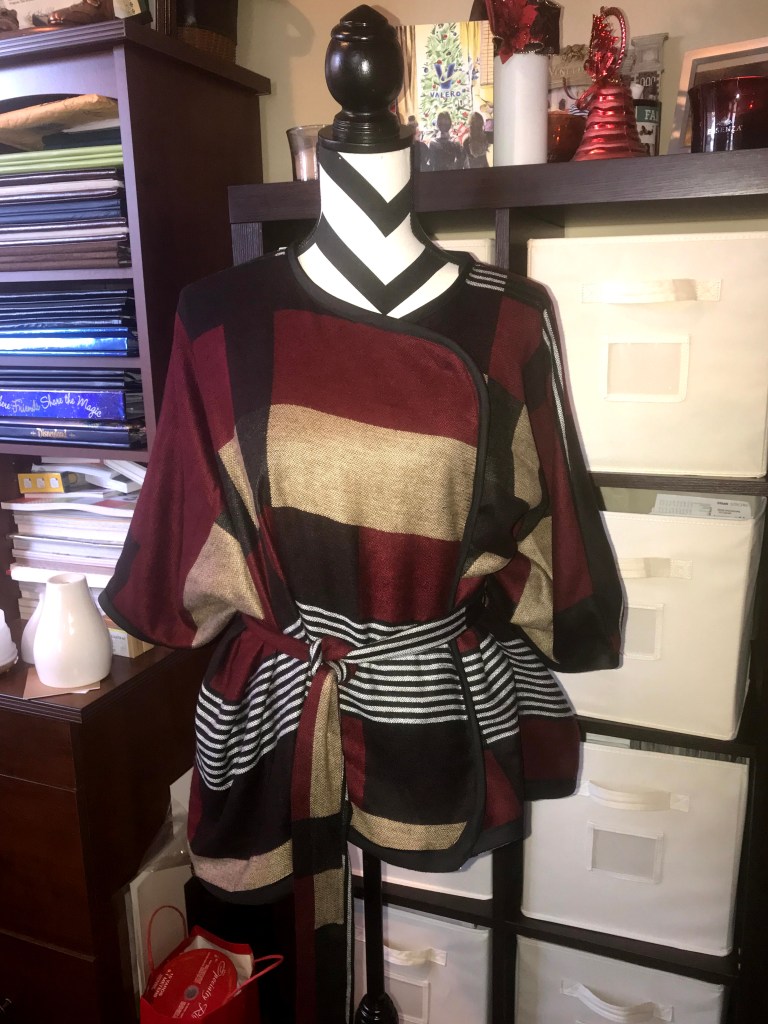
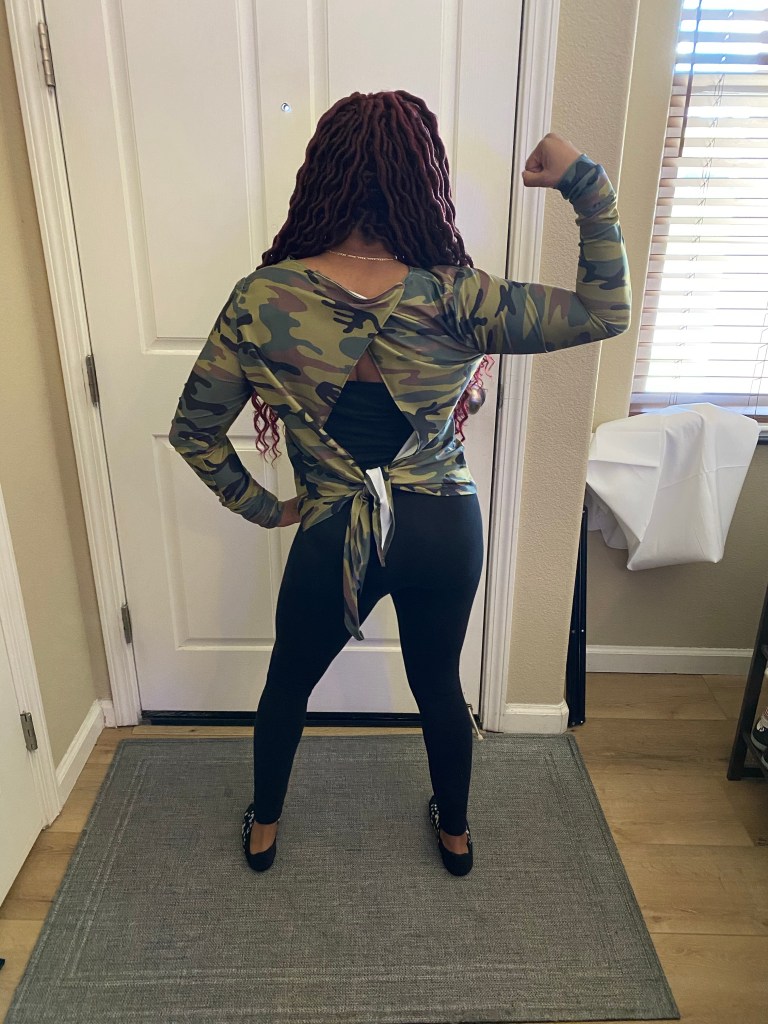
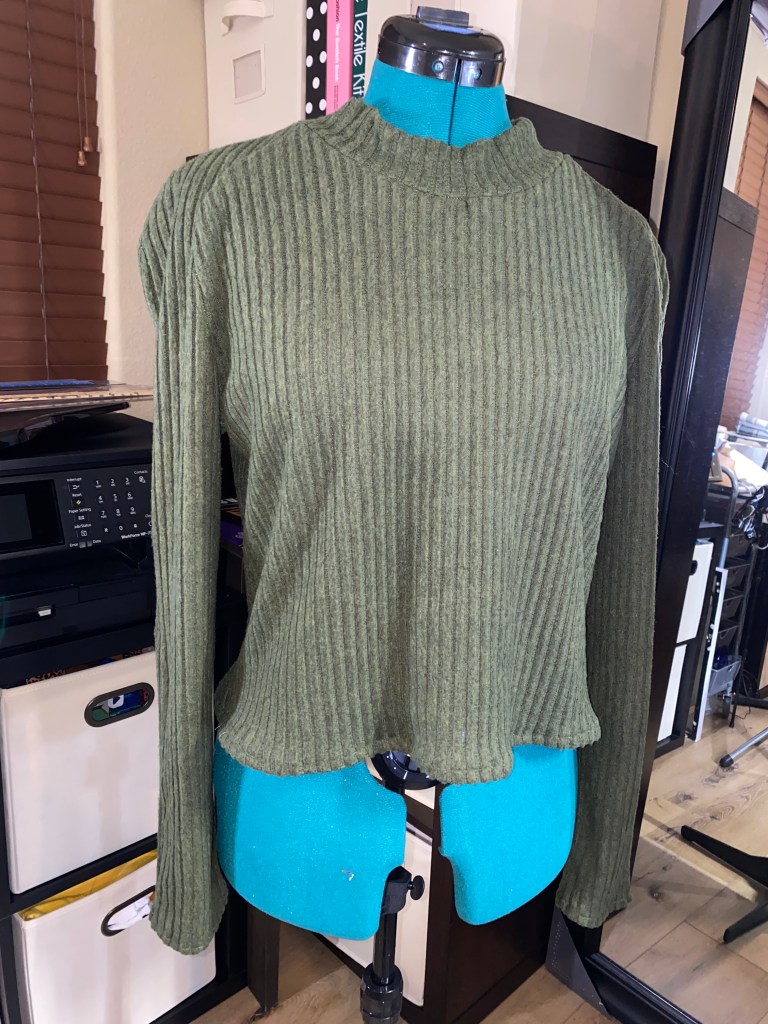
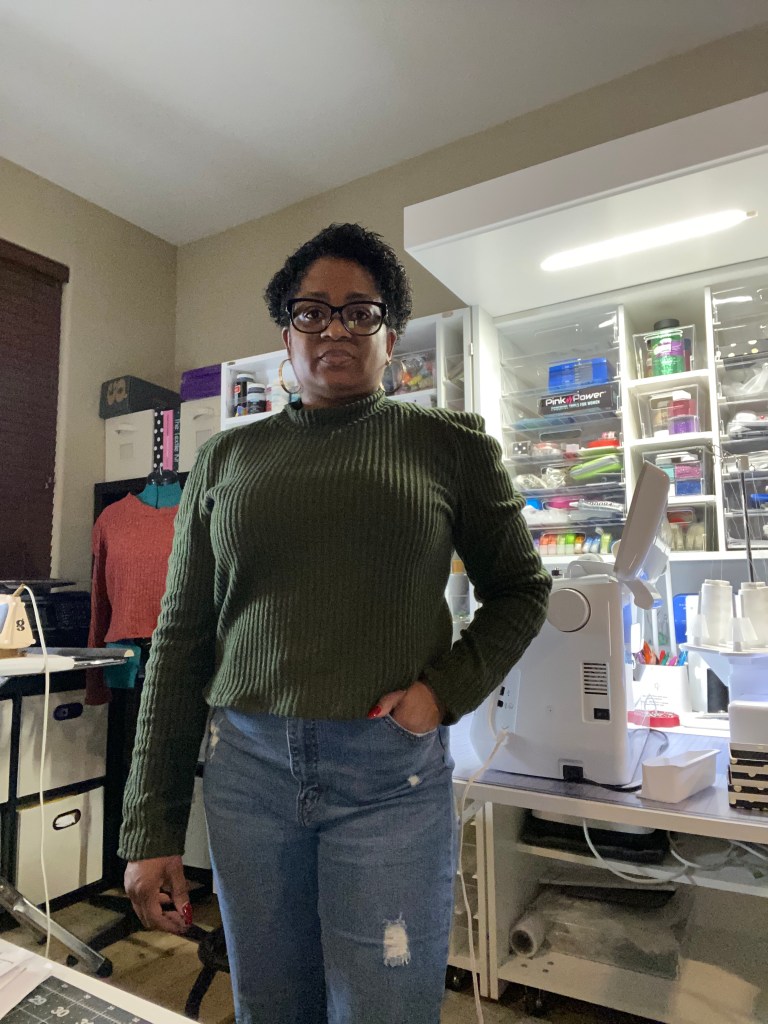
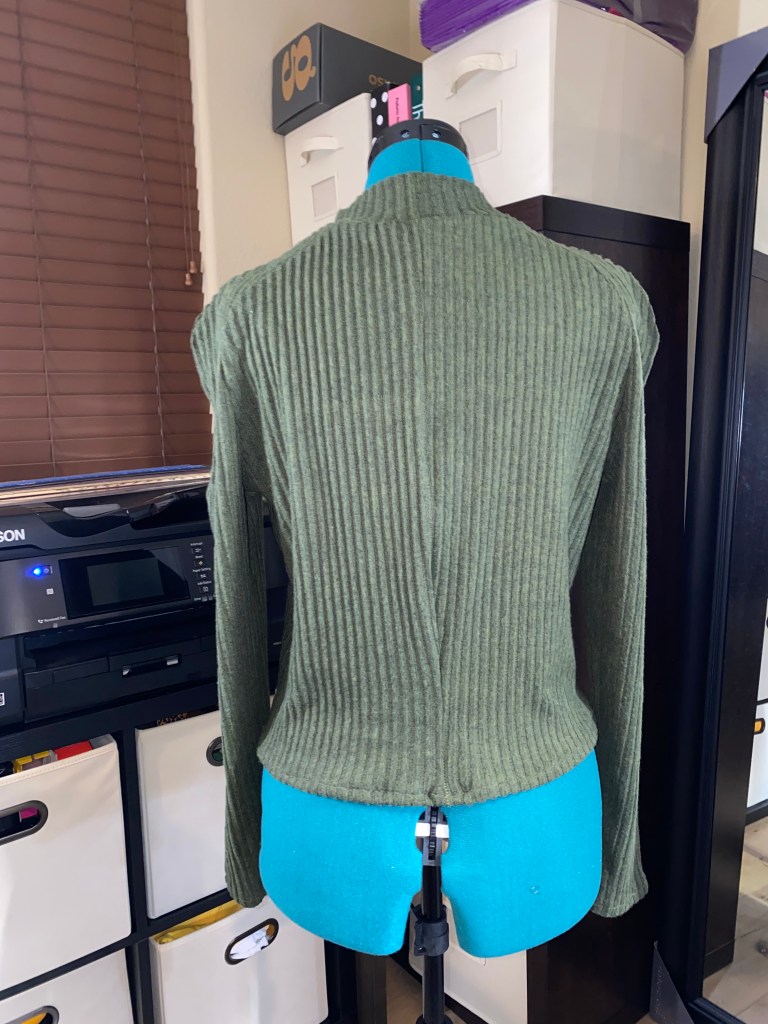
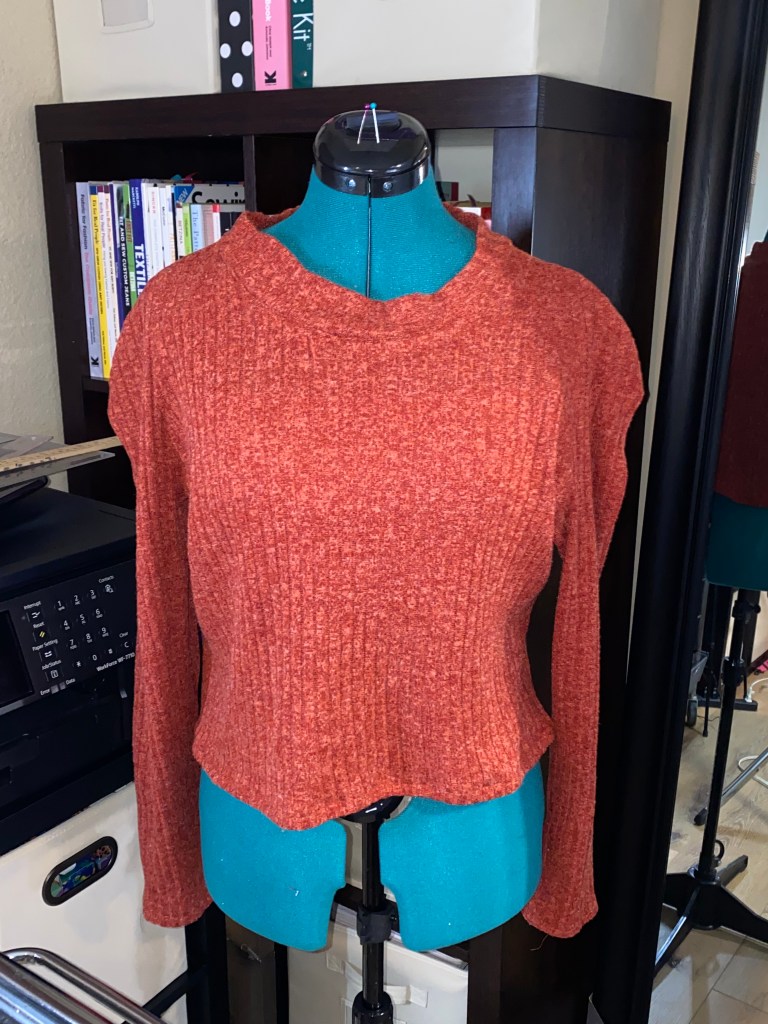
- Second make McCall’s 7475 Tops – Made these as part of the Stash busting challenge in the Sew Much Talent Instagram group. I made the top twice with left over scrap fabric that was in my stash.
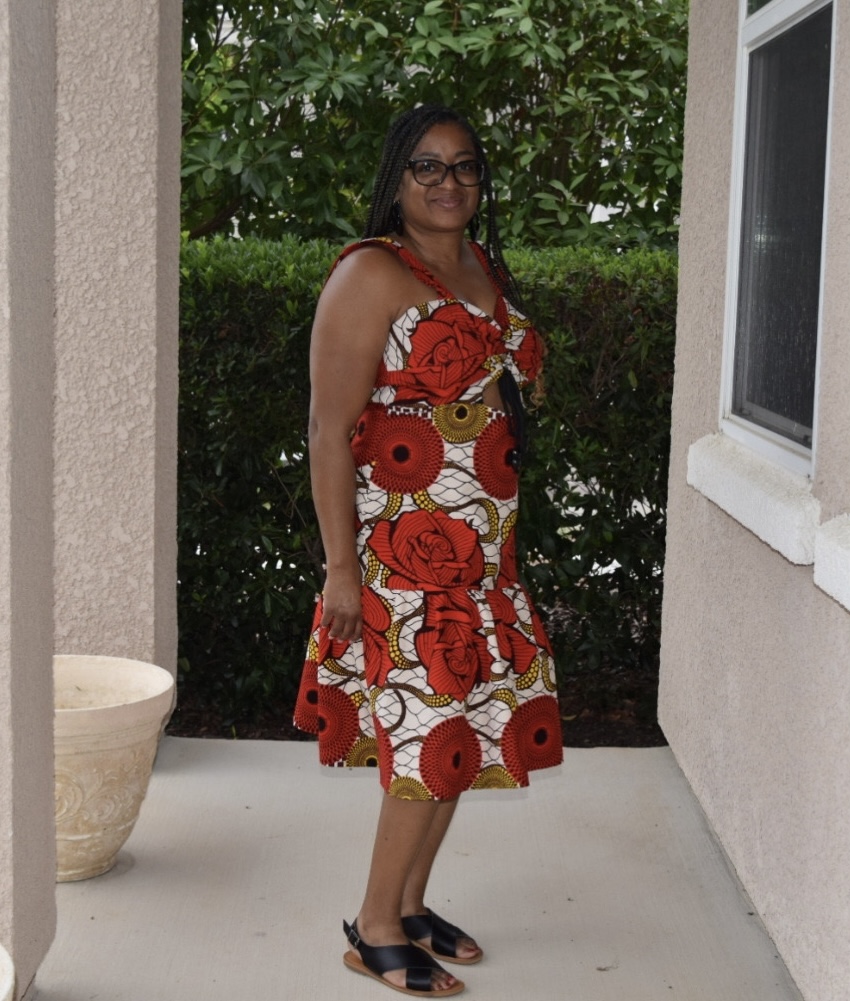
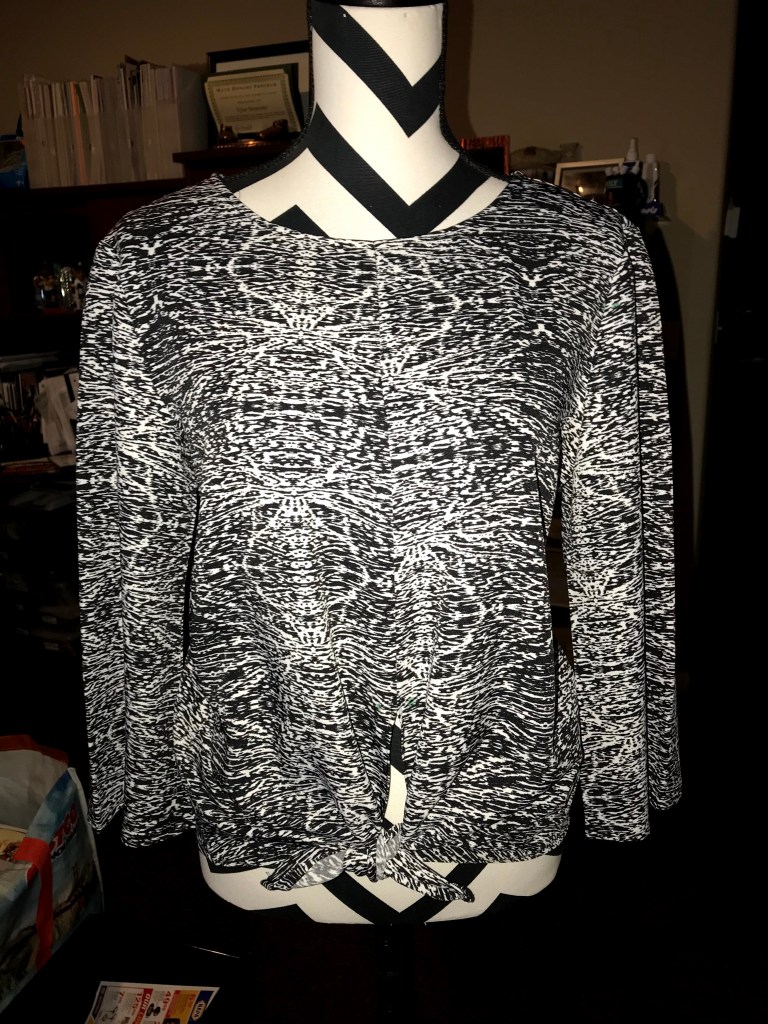
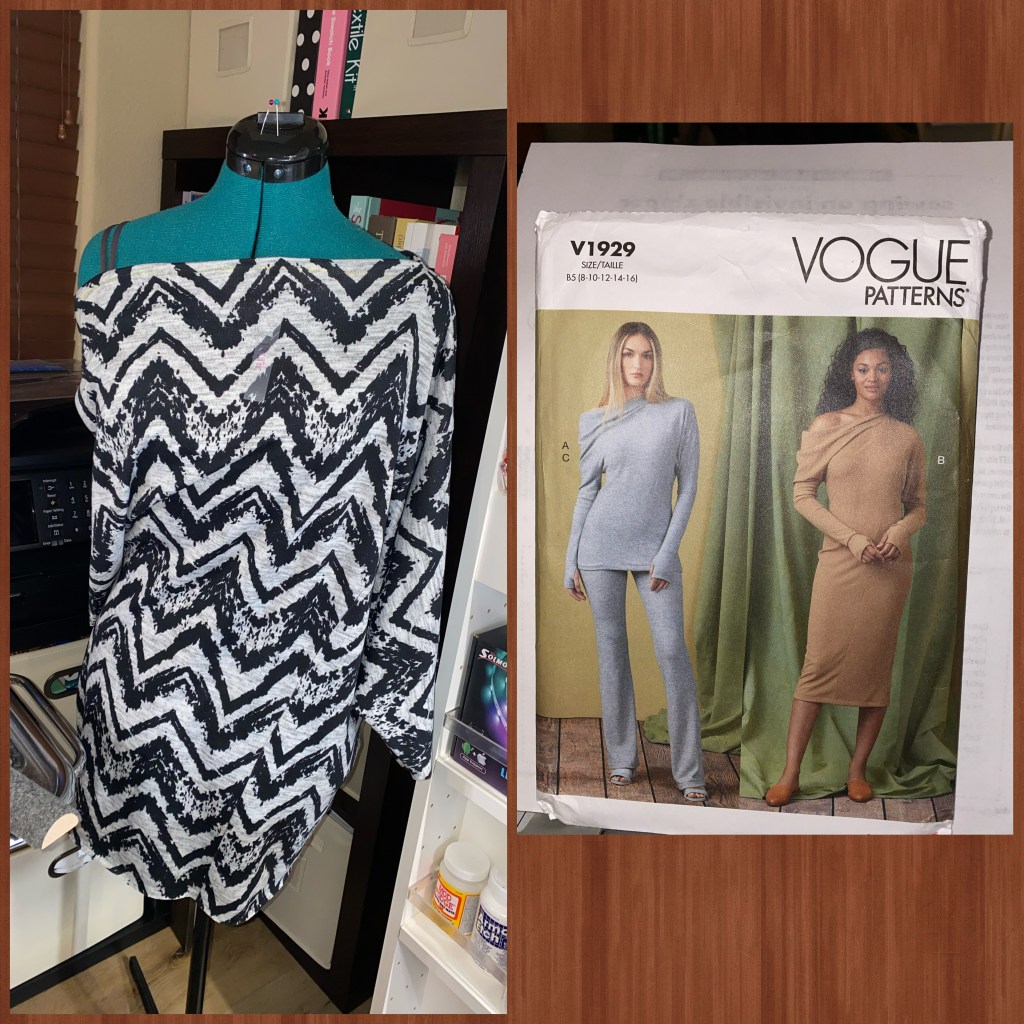
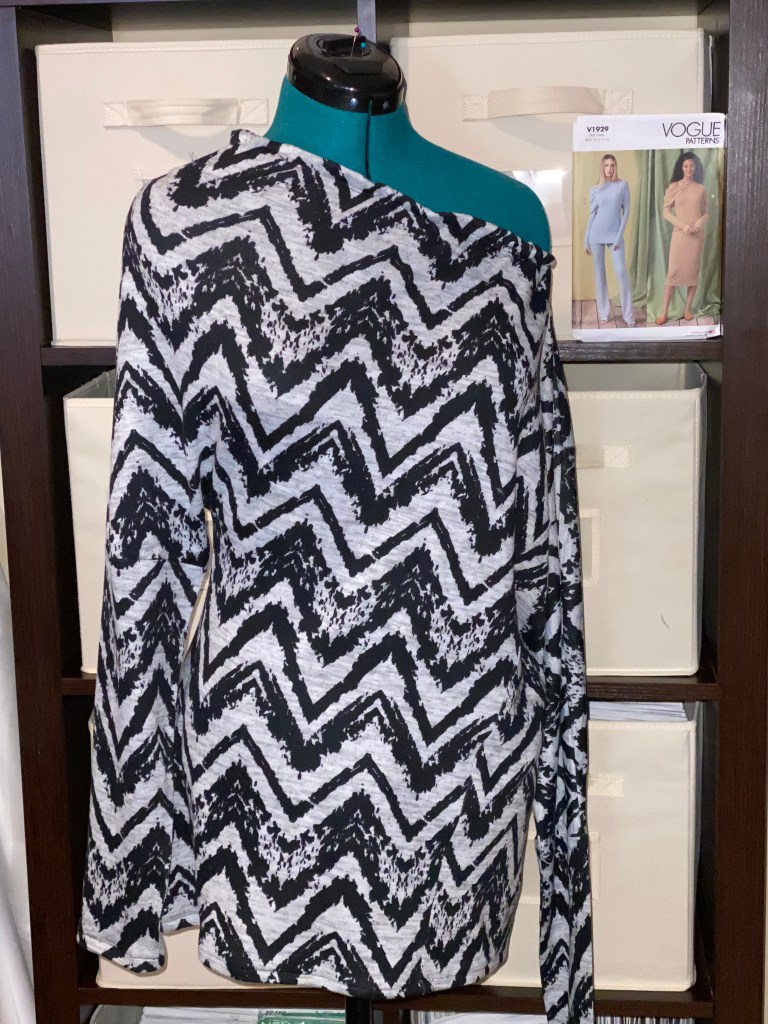
- Third make was Vogue 1929 – Not sure how I feel about this one. It didn’t come out as I expected it to. It was an easy sew, but I think I need another fabric choice. I don’t know, maybe once I style it, I will change my mind.
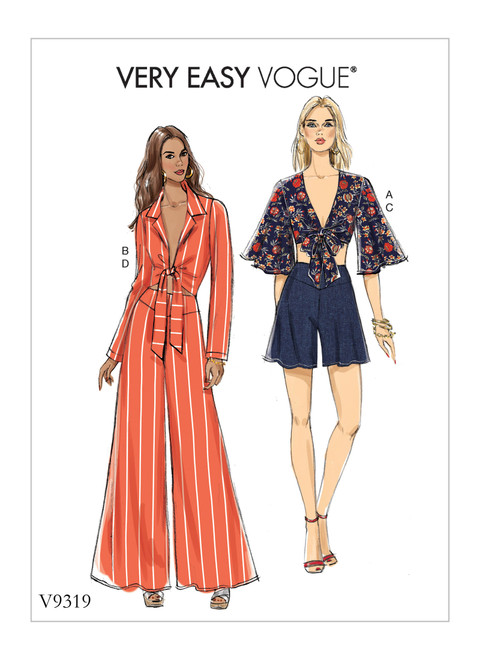
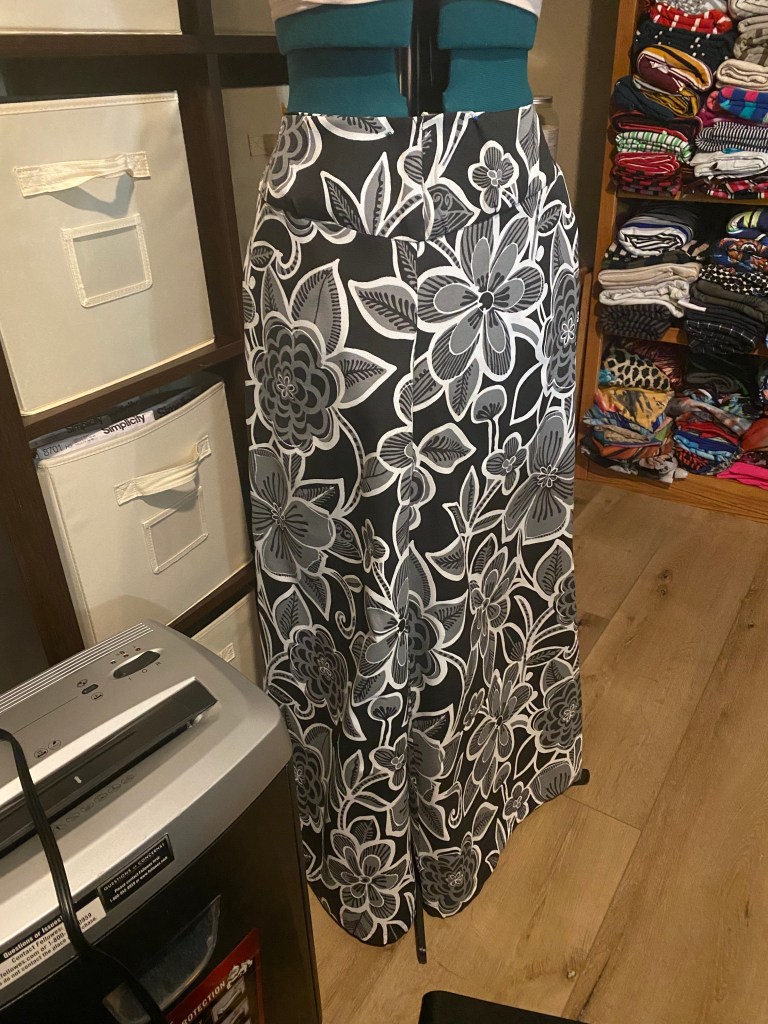
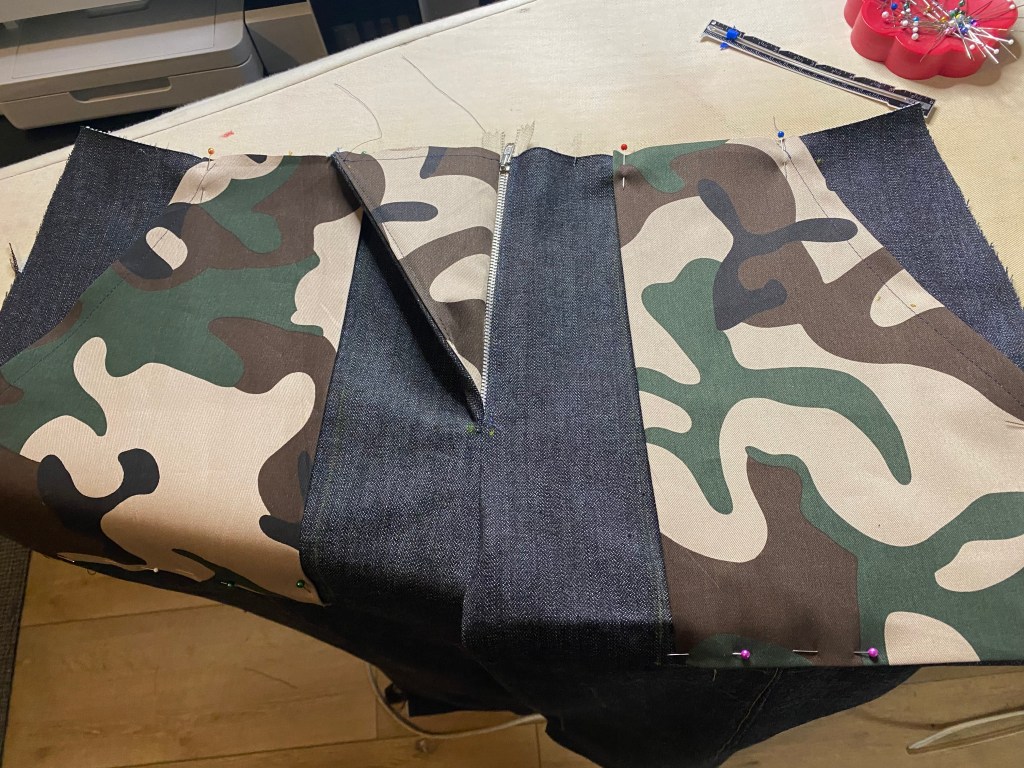
- Fourth make – Vogue 9319 I am absolutely in love with these pants. They were an easy make. I usually shy away from zippers, but I picked patterns that will challenge my skills. The challenge in this one was the zipper. If you know me, you know I am not a fan of zippers.
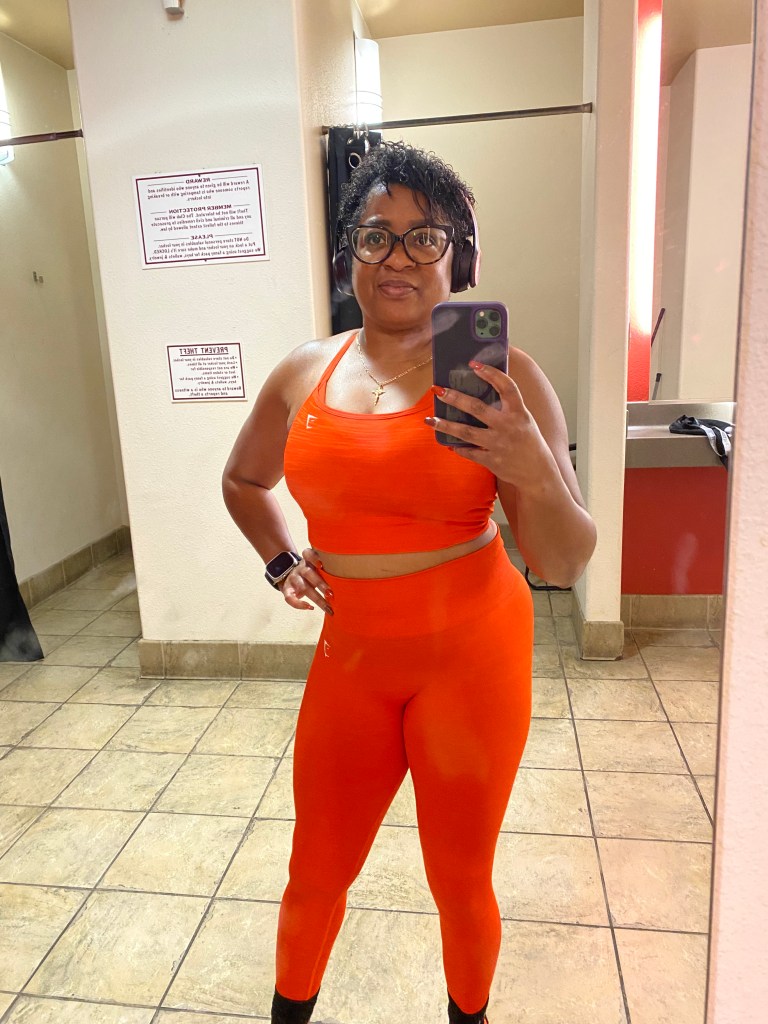
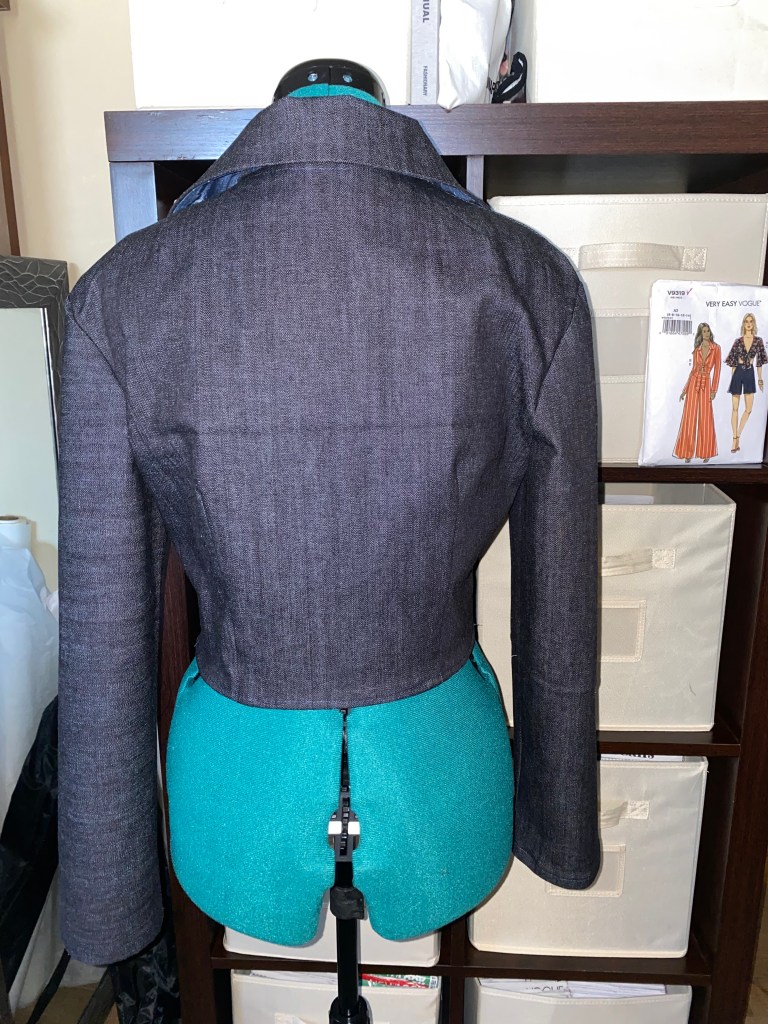
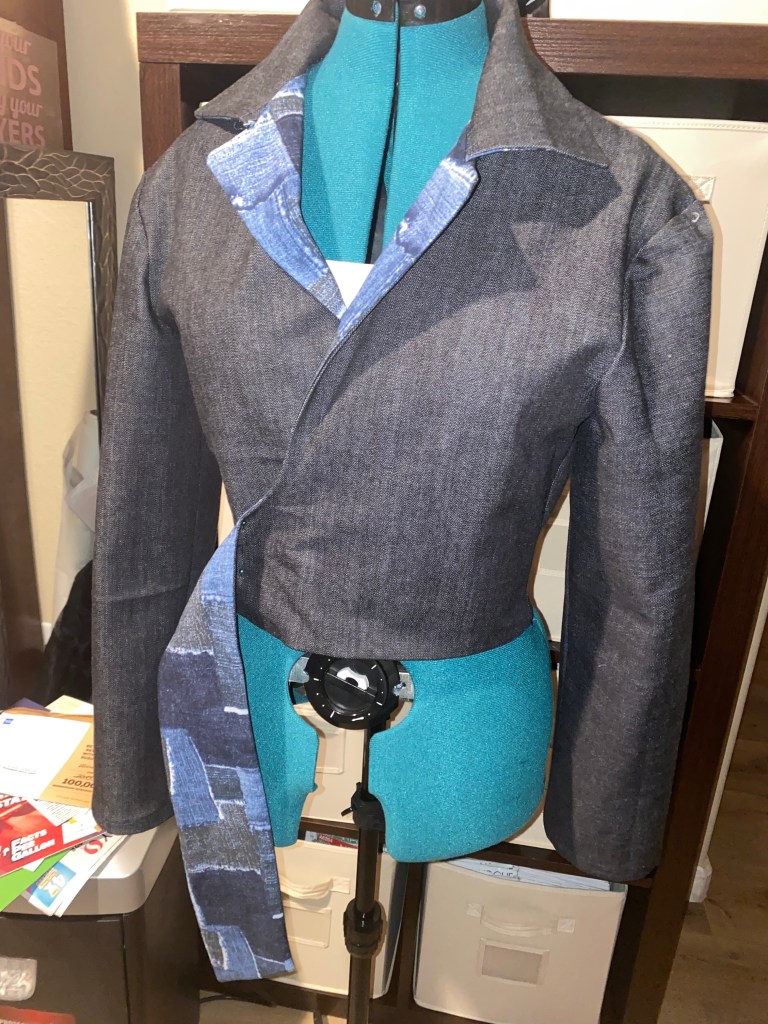
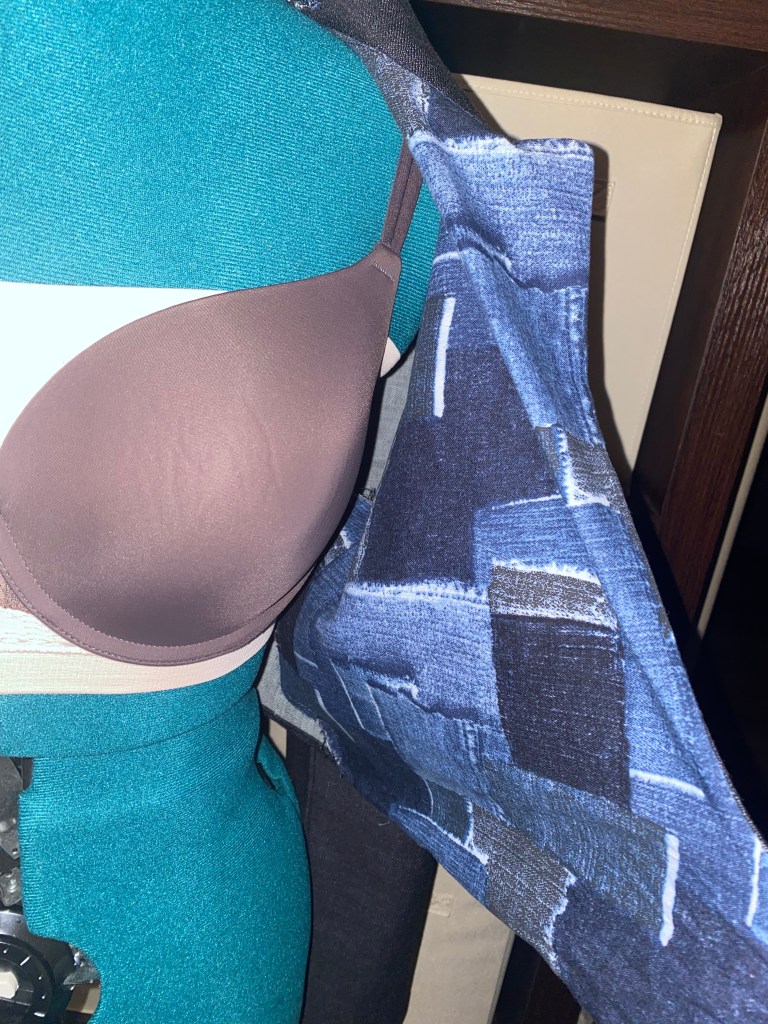
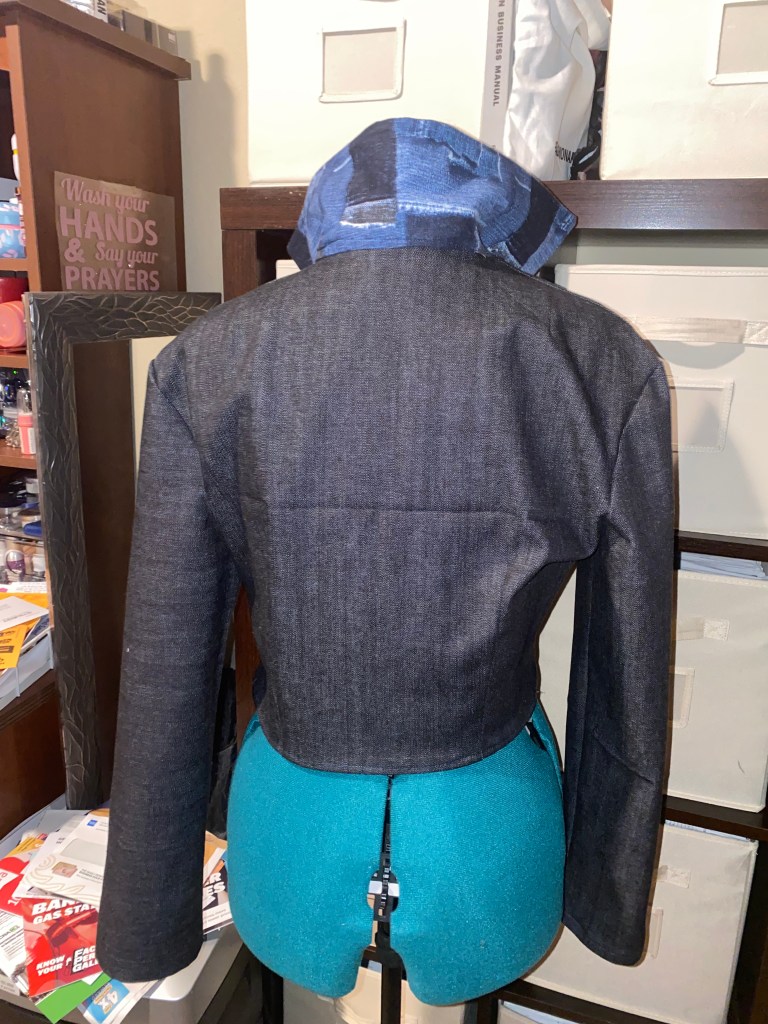
- Fifth make was the top to Vogue 9319 – this one turned out really cute too. I used leftover denim for the main fabric and left over cotton fabric that looks like denim, from a dress I cut out but haven’t sewn up yet.

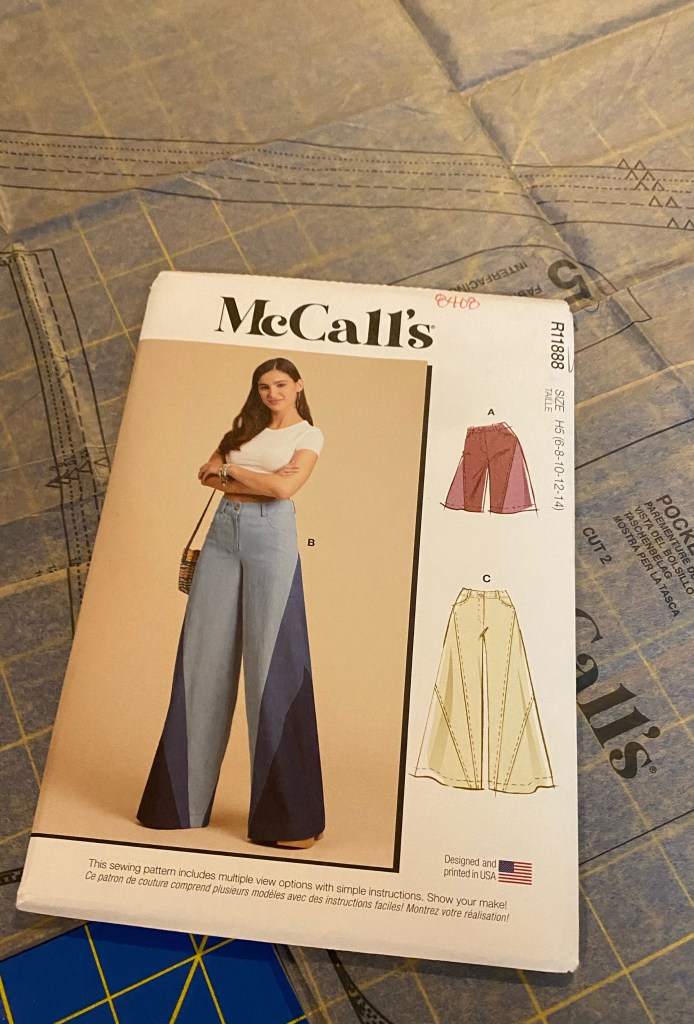
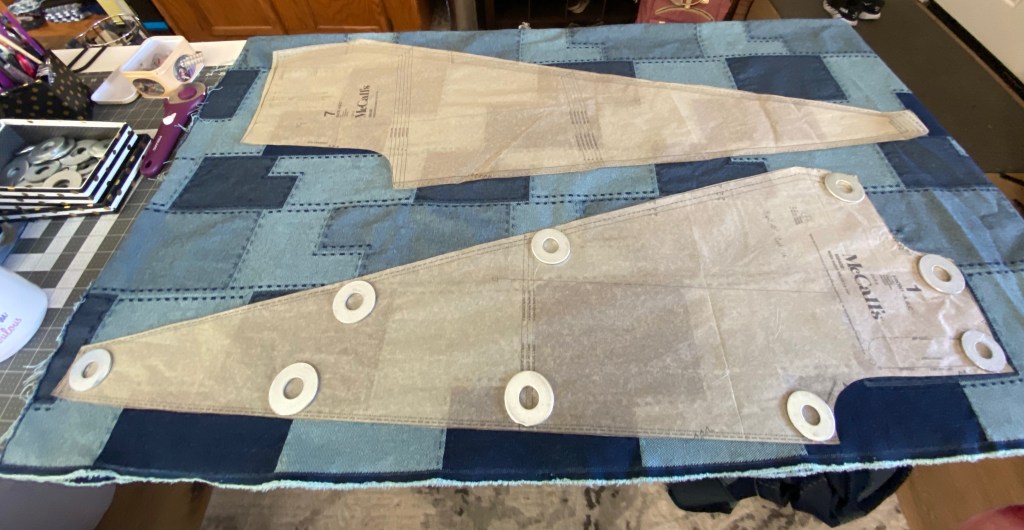
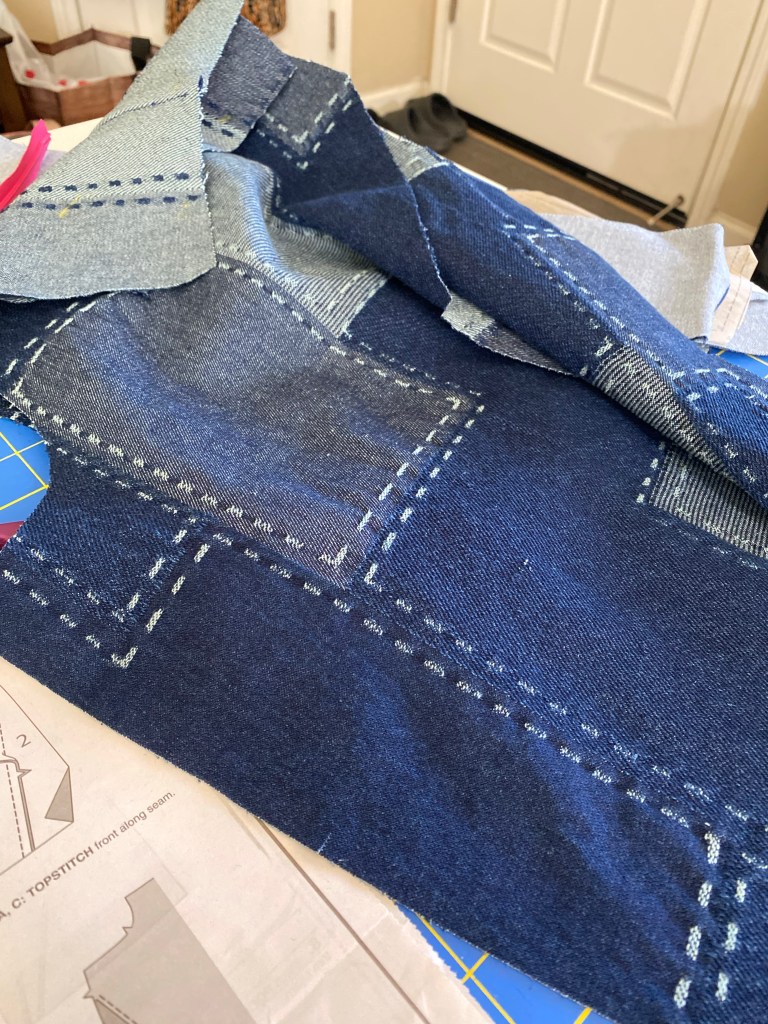
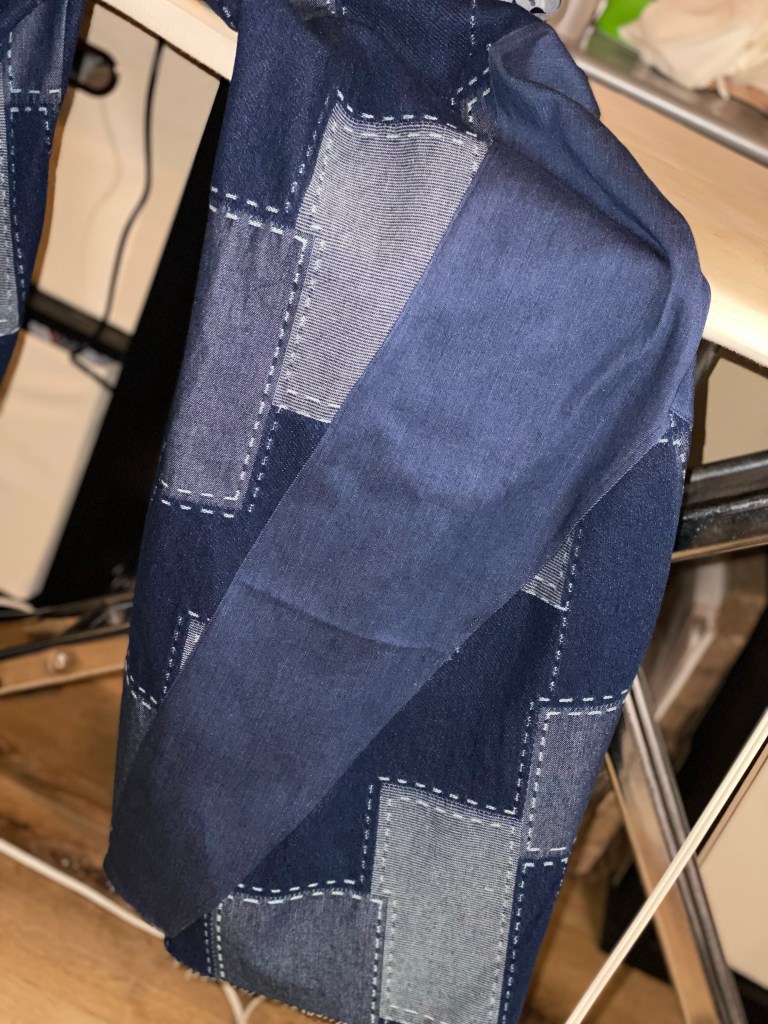
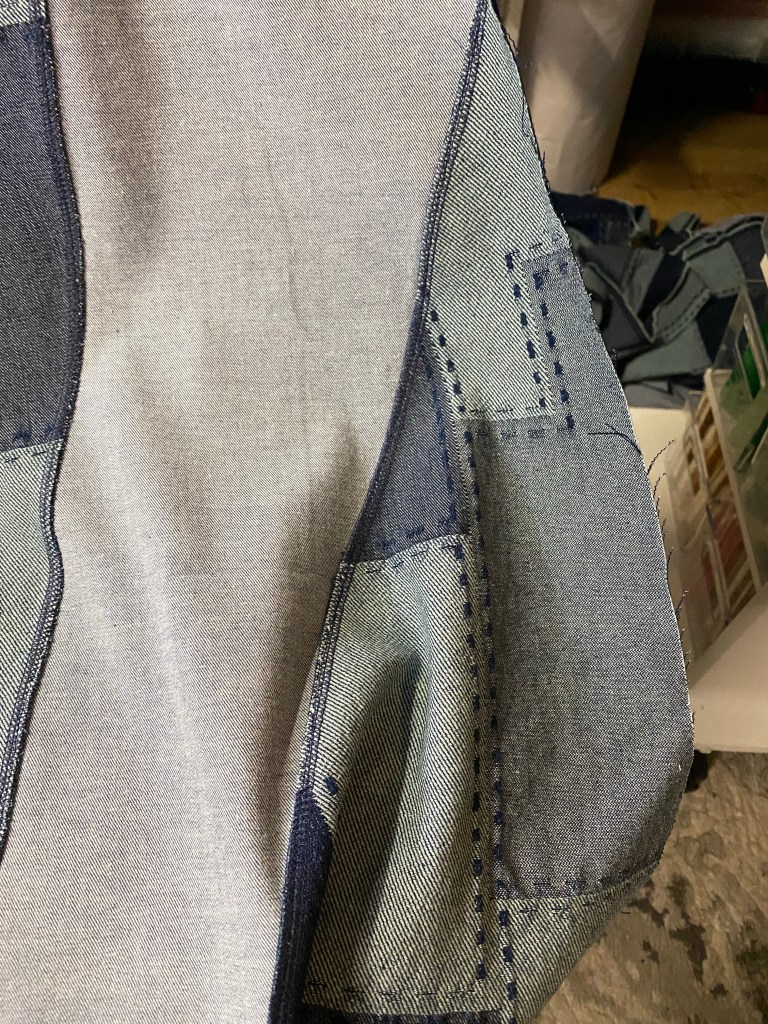
Up Next: Know Me 2054 by Keechi B Style – View B Cargo Pants – with wrap fly waistband and multiple pockets on front and back. Here is a sneak peek of what I am working with. This pattern is not part of my Make Nine, but it was on my list to make. There is a lot of work on this pair of pants, due to the details on the pockets. I have been sewing a little bit each night, about a hour or so, to not be overwhelmed and to make them look good. Practicing my patience.

Until Next Time, Go sew Something.